


 Reserved for Jesse ... $475.00 |  smiths please pleas... $64.00 | 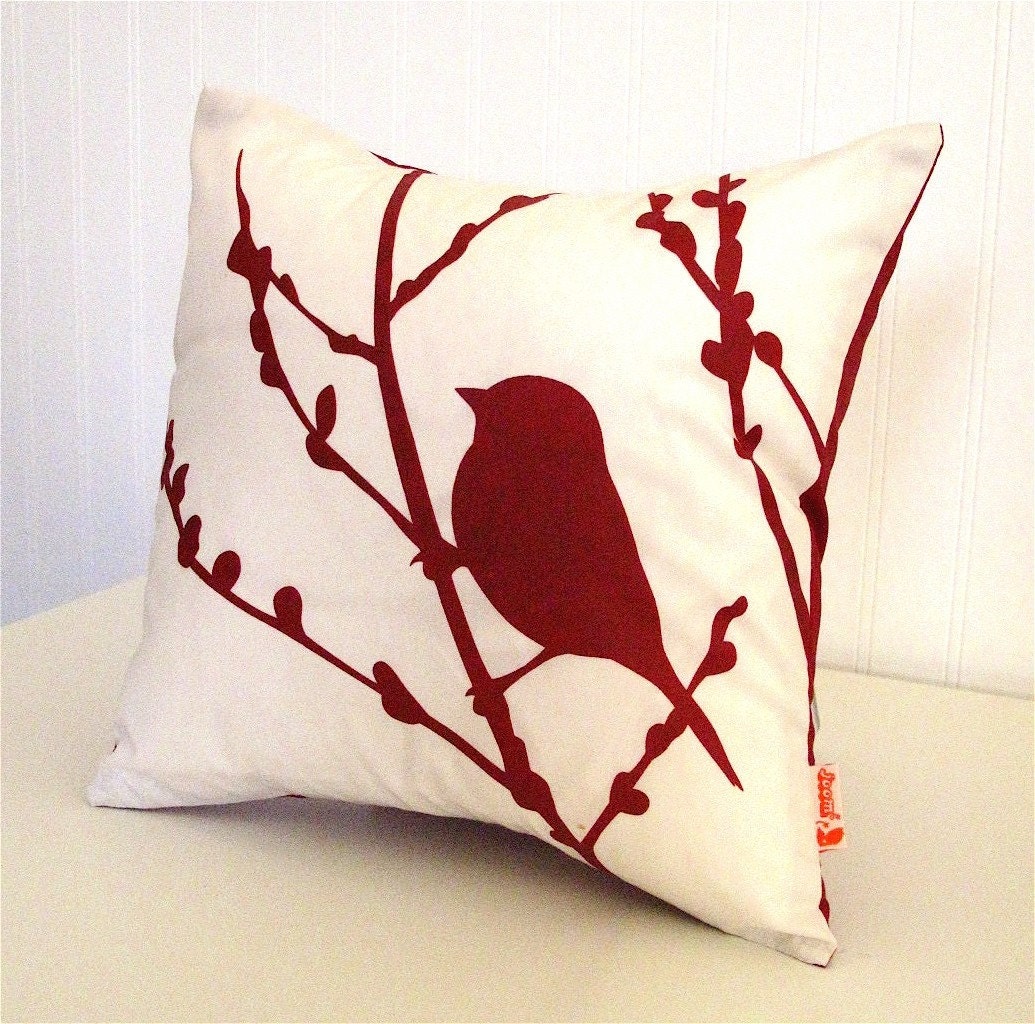 Red Print on White ... $16.00 | 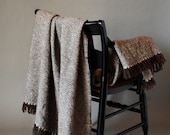 Woven Merino Blanke... $350.00 |
 IMAGINE - Beautiful... $24.00 |  Crimson Mollie Pear... $ |  Solid milk chocolat... $10.00 |  Red Tube Neckwarmer $55.00 |
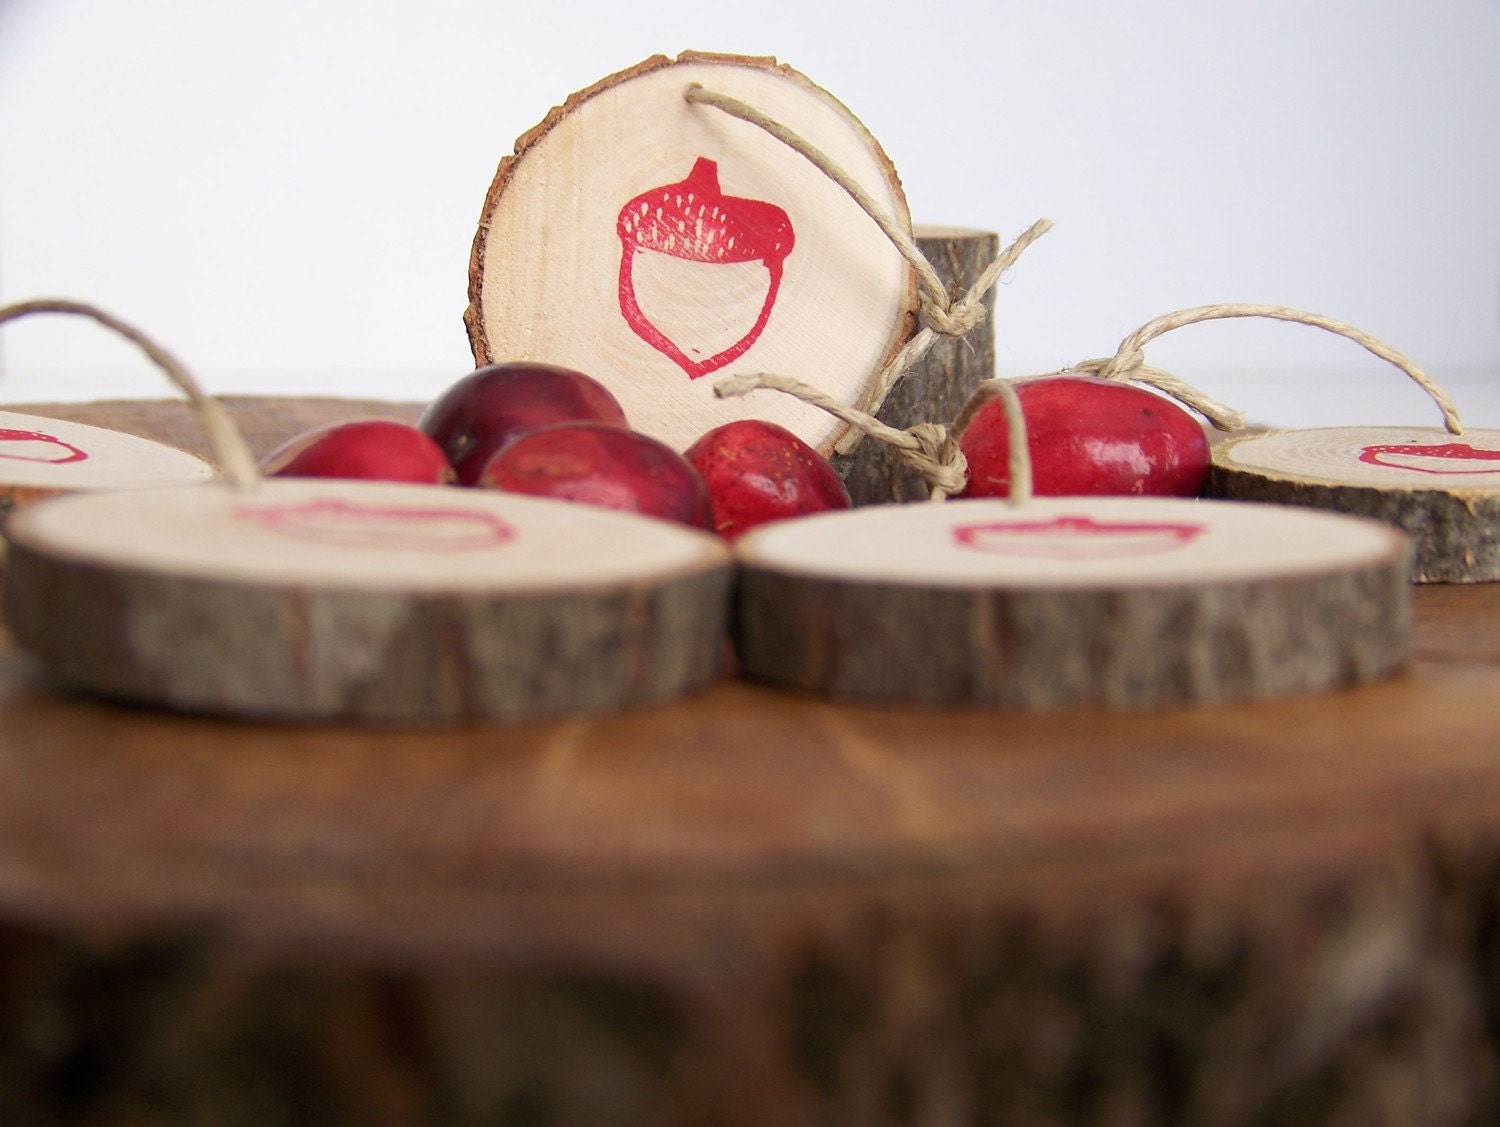 Cranberry Acorn Woo... $5.00 | 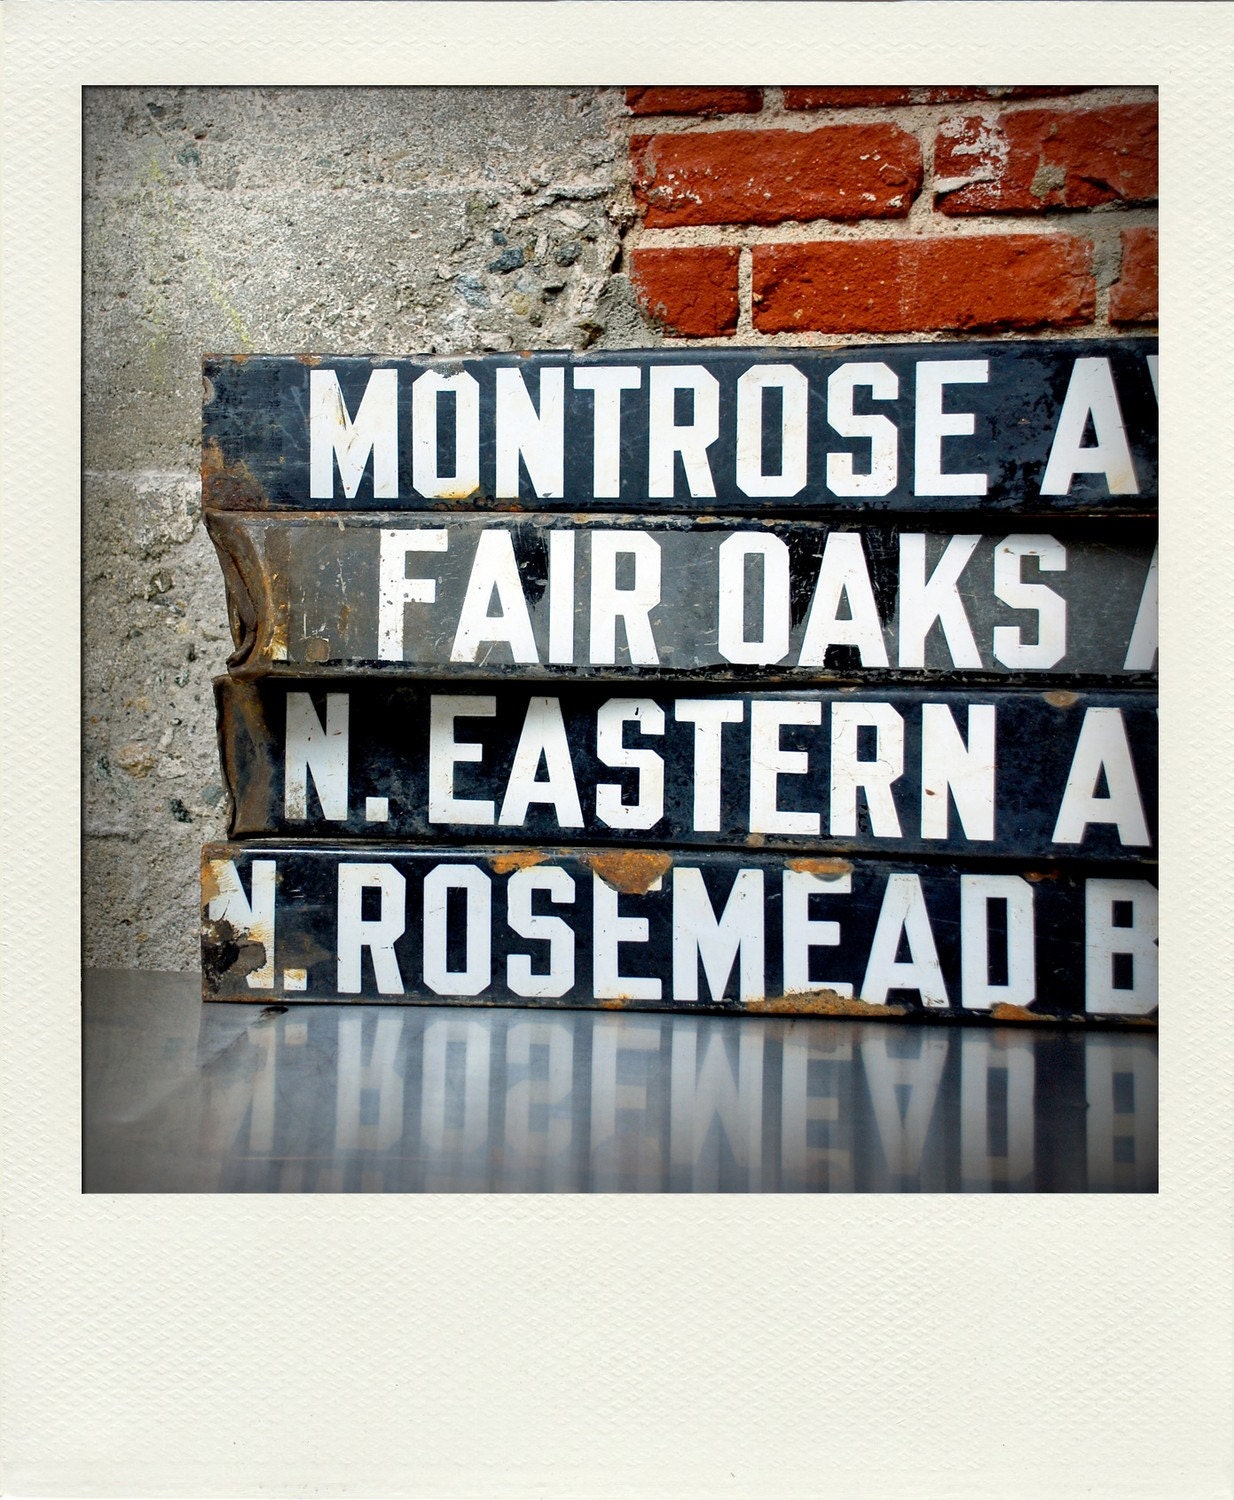 Large 3D Enameled M... $84.00 |  The Monostache... a... $58.00 |  Personalized Family... $120.00 |
 Route 66 Road Trip ... $23.00 |  Pumpkin Lavender Al... $5.95 |  Large Bare - Recla... $65.00 |  Handmade Thumbelina... $20.00 |
Treasury tool is sponsored by Lazzia.com.


